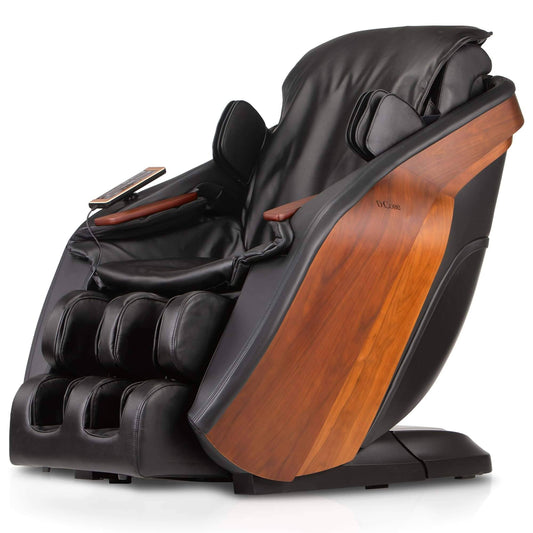

Cyber Relax AI Full-Body Massage: Step-by-Step Techniques
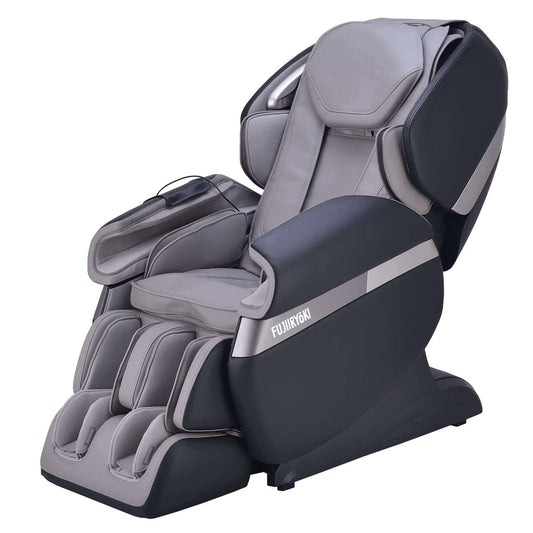
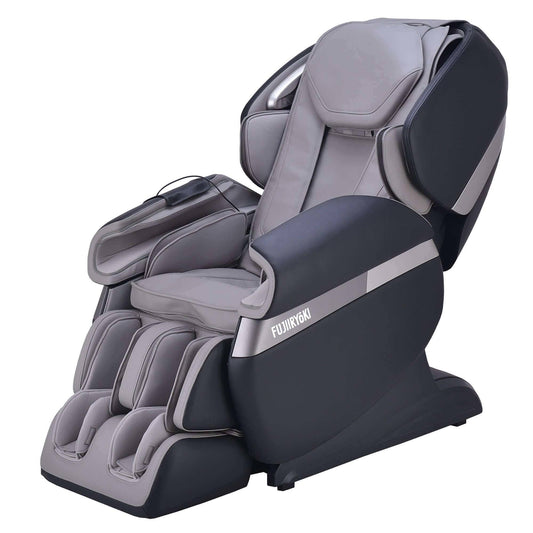
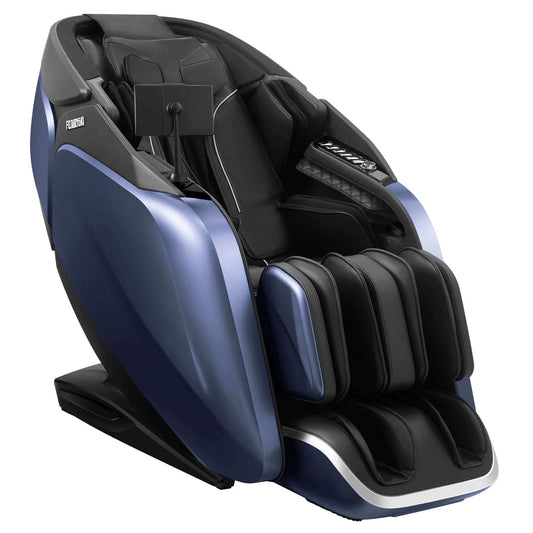
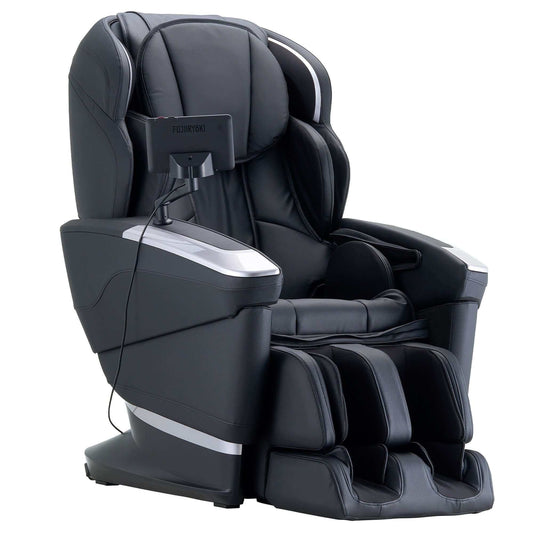
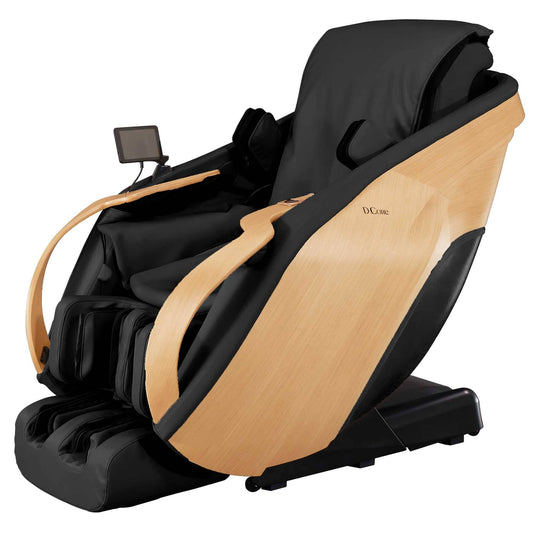
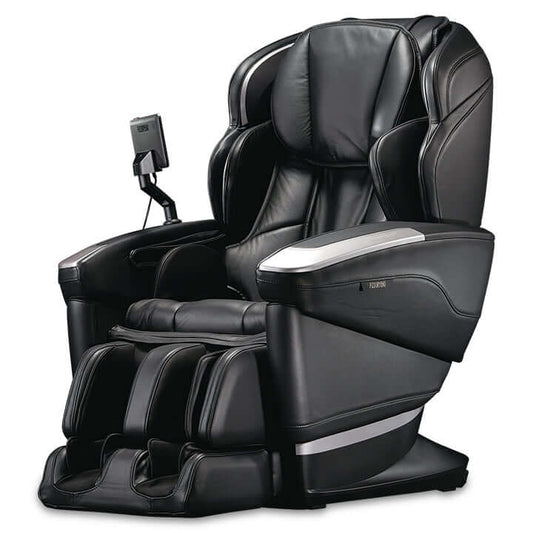
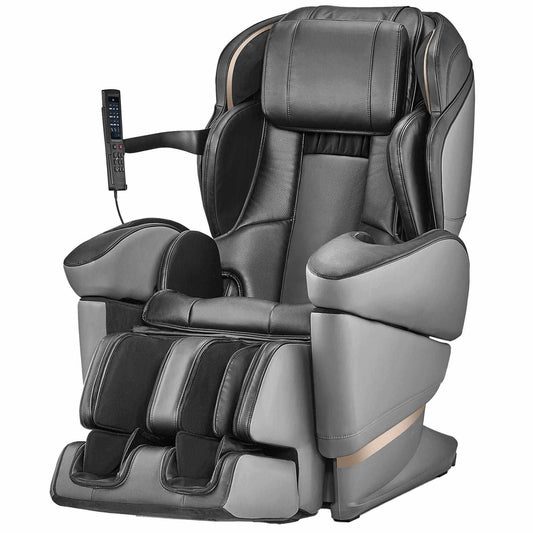
The Fujiiryoki Cyber Relax AI represents a new benchmark in home wellness, combining advanced sensors, AI-driven personalization, and a versatile technique library. This expanded, model-focused guide dives deep into a step-by-step presentation of full-body massage techniques from ankle to wrist, designed to deliver pain relief, flexibility improvements, and enhanced circulation. Each body region is explored with a multi-technique approach, drawing from Swedish, Deep Tissue, Trigger Point, Acupressure, Shiatsu, Reflexology, and Kneading modalities. Use this as a repeatable routine that can be tailored to your daily rhythm and specific needs.
Overview: What Cyber Relax AI Brings to Your Daily Routine
- AI-driven posture and tissue mapping that personalizes pressure, speed, and stroke patterns for each session.
- Integrated modality mix that blends calming and deep-therapeutic techniques to balance comfort and relief.
- Smart sensor feedback that adapts in real time to tissue texture, circulation, and user feedback.
- Holistic benefits across blood flow, fatigue reduction, flexibility, injury prevention, and stress relief.
- Designed for daily use with safety checks, easy customization, and maintenance guidance.
Ankle
- Step 1 — Preparation and assessment: Cyber Relax AI analyzes ankle posture, mobility, and tissue texture to tailor pressure and stroke patterns.
- Step 2 — Swedish groundwork: Long effleurage along the ankle joint to warm tissues and improve surface circulation.
- Step 3 — Deep Tissue engagement: Targeted pressure on anterior lower-leg muscles to release tension around the ankle.
- Step 4 — Acupressure and Shiatsu: Gentle finger-pressure points around the ankle to support joint health and energy flow.
- Step 5 — Reflexology-inspired taps: Stimulate reflex zones that promote systemic blood flow and relaxation.
- Step 6 — Kneading and tissue softening: Layered strokes to improve tissue quality in surrounding calf muscles.
- Step 7 — Post-session micro-stretch: Gentle ankle dorsiflexion/plantarflexion to maintain mobility gains.
- Step 8 — Benefits: Enhanced blood flow, pain relief, and increased ankle flexibility with improved tissue health in the lower leg.
Back
- Step 1 — Baseline scan: The AI maps thoracic and upper-back musculature to distribute pressure evenly.
- Step 2 — Swedish plus kneading blend: Long strokes up the spine with deeper kneading along the trapezius and rhomboids.
- Step 3 — Trigger Point cues: Focused work on knots in the upper back to ease stiffness and improve posture alignment.
- Step 4 — Shiatsu-inspired vertical presses: Target paraspinal muscles to relieve tension along the spine.
- Step 5 — Reflexology and light effleurage: Gentle transitions to boost circulation through the thorax and torso.
- Step 6 — Deep tissue integration: Layered pressure to support muscle independence and tissue health.
- Step 7 — Posture-protective care: Include subtle shoulder retractions and gentle mobility tips to extend benefits beyond the chair.
- Step 8 — Benefits: Spine alignment support, fatigue relief, and improved upper-body circulation.
Calf
- Step 1 — Sensor-guided setup: Calf measurements guide pressure to avoid overstimulation of sensitive tissues.
- Step 2 — Kneading and deep tissue synergy: Focus on the gastrocnemius and soleus with rhythmic kneading and deeper strokes.
- Step 3 — Trigger Point release: Address common calf knots that limit ankle mobility and leg flexibility.
- Step 4 — Acupressure channels: Pressure along the calves helps facilitate venous return and reduces fatigue.
- Step 5 — Finish with light Swedish strokes: Reset tissue tension and promote sustained circulation.
- Step 6 — Kneading refinement: Additional moderating passes to ensure even sensation across the calf muscle belly.
- Step 7 — Post-workout care tips: Gentle ankle circles and calf stretches to lock in gains.
- Step 8 — Benefits: Fatigue relief, improved blood flow, and enhanced flexibility in the lower leg.
Feet
- Step 1 — Gentle warm-up: Light contact across the plantar fascia to prep for deeper work.
- Step 2 — Reflexology mapping: Target zones corresponding to organ systems for holistic benefits.
- Step 3 — Kneading and trigger point work: Focus arches, heels, and tender spots for immediate relief.
- Step 4 — Acupressure and Shiatsu finish: Focused pressure on midfoot and toes to improve energy flow.
- Step 5 — Finishing assessment: Check for residual tension and adjust future sessions accordingly.
- Step 6 — Reflex zones flush: Light taps to encourage lymphatic movement and drainage.
- Step 7 — Self-care guidance: Short plantar fascia stretches and toe curls to sustain benefits.
- Step 8 — Benefits: Reduced foot fatigue, improved circulation, and calmer nervous system response.
Hands
- Step 1 — Strategic preparation: Light compression and warming for intrinsic hand muscles and forearms.
- Step 2 — Kneading and Swedish strokes: Loosen tight forearms and palmar muscles with rhythmic pressure.
- Step 3 — Trigger Point and deep tissue: Target repetitive-use areas such as flexor tendons to relieve soreness.
- Step 4 — Acupressure: Pressure points along wrists and palms to support circulation and energy balance.
- Step 5 — Finish with reflex patterns: Light tapping to promote local and systemic circulation.
- Step 6 — Mobilization cues: Gentle joint rotations for wrists and fingers to sustain flexibility gains.
- Step 7 — Post-session routines: Hand stretches and grip-strengthening exercises for daily tasks.
- Step 8 — Benefits: Enhanced hand and wrist circulation, reduced fatigue after repetitive tasks.
Head
- Step 1 — Scalp-friendly approach: Begin with light, broad strokes to create a relaxing baseline.
- Step 2 — Neuromuscular release: Gentle finger pressure across scalp to ease tension and headaches.
- Step 3 — Temporal and occipital focus: Target tight bands around temples and base of skull.
- Step 4 — Shiatsu temple work: Circular pressures to improve blood flow to the head.
- Step 5 — Gentle cranial effleurage: Slow, soothing movements to settle the nervous system.
- Step 6 — Gentle lymphatic support: Light strokes to encourage facial and scalp drainage where appropriate.
- Step 7 — Post-session wind-down: Breathing cues and light neck and shoulder stretches to extend calmness.
- Step 8 — Benefits: Stress relief, improved scalp circulation, and balanced tension across the head and neck.
Heel
- Step 1 — Gentle introduction: Prepare the calcaneal area with warm, light contact to avoid irritation.
- Step 2 — Deep tissue attention: Target the Achilles tendon vicinity and heel pad with controlled pressure.
- Step 3 — Reflex points and kneading: Stimulate reflex zones linked to overall circulation and energy flow.
- Step 4 — Acupressure alignment: Focus on heel-centered points to support heel cord health and posture alignment.
- Step 5 — Restorative finish: Broad Swedish strokes to calm the tissues and promote drainage.
- Step 6 — Tissue hydration support: Follow-up hydration tips and gentle foot mobility moves.
- Step 7 — Post-session recovery tips: Elevation and gentle ankle pumps to sustain benefits.
- Step 8 — Benefits: Enhanced circulation, reduced heel soreness, and improved tissue hydration around the ankle-heel complex.
Knee
- Step 1 — Alignment check: Assess knee comfort and surrounding leg musculature to customize pressure.
- Step 2 — Kneading and light deep tissue: Soften quadriceps and hamstrings near the knee joint to support mobility.
- Step 3 — Trigger Point release: Clear knots in the gastrocnemius and vastus muscles that influence knee tracking.
- Step 4 — Acupressure and Shiatsu: Points around the knee capsule to improve local circulation and tissue health.
- Step 5 — Finishing strokes: Gentle Swedish strokes to leave the knee area balanced and less tense.
- Step 6 — Ligament-friendly movements: Gentle collateral-focused strokes to respect joint stability.
- Step 7 — Post-session care: Light quad and hamstring stretches to maintain gains.
- Step 8 — Benefits: Pain relief, improved flexibility, and better knee joint support through enhanced tissue therapy.
Legs
- Step 1 — Full-leg scan: AI evaluates leg symmetry and muscle tone for an even treatment approach.
- Step 2 — Combined Swedish and kneading: Long leg strokes followed by targeted kneading along the calves and thighs.
- Step 3 — Trigger Point map: Address common tension hotspots in calves, hamstrings, and adductors.
- Step 4 — Deep tissue integration: Layered pressure to promote tissue repair and circulation.
- Step 5 — Shiatsu and acupressure: Focused vertical and horizontal pressures to restore energy flow.
- Step 6 — Long-term alignment: Sequence designed to support gait mechanics and reduce overuse strain.
- Step 7 — Recovery cadence: paced sessions with optional cooldown stretches for daily use.
- Step 8 — Benefits: Increased flexibility, improved muscle therapy, and enhanced blood flow throughout the legs.
Neck
- Step 1 — Gentle initiation: Start with light effleurage to ease muscular stiffness around the cervical spine.
- Step 2 — Targeted kneading: Work upper trapezius and cervical paraspinals with moderate pressure.
- Step 3 — Trigger Point therapy: Address knots contributing to headaches or neck tension.
- Step 4 — Shiatsu and acupressure: Precise pressure on key neck points to relieve tension and boost circulation.
- Step 5 — Finishing strokes: Calm, broad strokes to maintain cervical alignment and comfort.
- Step 6 — Mobility emphasis: Gentle side-to-side neck rotations to maintain range of motion.
- Step 7 — Post-session care: Neck and shoulder stretches to reinforce alignment and reduce stiffness.
- Step 8 — Benefits: Pain relief, improved neck flexibility, and reduced stress-related tension.
Shoulder
- Step 1 — Posture-aware setup: AI adapts based on shoulder blade positioning and torso alignment.
- Step 2 — Deep tissue and kneading: Deep strokes across deltoids and upper back to relieve stiffness.
- Step 3 — Trigger Point relief: Soften shoulder knots from desk work or lifting strain.
- Step 4 — Shiatsu pressure and acupressure: Pinpoint pressures to improve energy flow and reduce fatigue.
- Step 5 — Finishing glow: Lighter Swedish strokes to settle shoulder muscles and promote circulation.
- Step 6 — Injury prevention support: Proactive muscle balancing to protect joints during activity.
- Step 7 — Post-session mobility routine: Sleeve and arm rotations to retain range of motion gains.
- Step 8 — Benefits: Injury prevention, stress relief, and enhanced tissue therapy for the shoulder girdle.
Thigh
- Step 1 — Muscle mapping: AI identifies quadriceps and adductor groups for precise work.
- Step 2 — Mixed technique approach: Gentle kneading with occasional deeper pressure to release tight fibers.
- Step 3 — Trigger Point release: Address common thigh knots that affect gait and posture.
- Step 4 — Reflexive stimulation: Light reflexology-inspired touches to enhance systemic circulation.
- Step 5 — Final strokes: Prolonged Swedish strokes to normalize tissue tone and improve flexibility.
- Step 6 — Structural support: Techniques aimed at supporting knee and hip mechanics through legwork.
- Step 7 — Post-session stabilization: Gentle leg extensions and hamstring flossing to sustain relief.
- Step 8 — Benefits: Improved leg flexibility, reduced soreness, and better blood circulation to the lower body.
Whole Body
- Step 1 — Global assessment: A holistic scan ensures balanced pressure distribution across all regions.
- Step 2 — Integrated technique mix: A cohesive blend of Swedish, Kneading, and Deep Tissue across back, legs, and arms to harmonize tissue response.
- Step 3 — System-wide Trigger Point and acupressure: Address cross-regional tension for overall well-being.
- Step 4 — Shiatsu and Reflexology synthesis: Coordinated foot-to-head flow to enhance circulation and energy balance.
- Step 5 — Recovery finish: Gentle effleurage to normalize tissue tone and promote relaxation post-session.
- Step 6 — Progressive adaptation: Each session builds on prior sessions with subtle changes to intensities and patterns.
- Step 7 — Post-session integration: Guided breathing and light mobility to extend benefits beyond the chair.
- Step 8 — Benefits: Comprehensive pain relief, improved flexibility, enhanced blood flow, and stress reduction across the entire body.
Wrist
- Step 1 — Precision setup: Target the carpal tunnel area and forearm muscles with careful pressure modulation.
- Step 2 — Forearm kneading and deep tissue work: Release repetitive-stress tension from typing or gripping activities.
- Step 3 — Trigger Point and reflex stimulation: Localized work on knots that contribute to radicular or tendon-related discomfort.
- Step 4 — Acupressure and gentle Shiatsu: Balance energy flow and support joint health in the wrist region.
- Step 5 — Finishing Swedish strokes: Calming strokes to maintain tissue pliability and circulation.
- Step 6 — Mobility support: Gentle wrist rotations and finger tendon stretches to sustain gains.
- Step 7 — Post-session care: Hand and forearm stretches for daily tasks and ergonomic health.
- Step 8 — Benefits: Wrist and forearm pain relief, improved circulation, and greater hand function for daily activities.
Conclusion: A Cohesive Roadmap to Full-Body Wellness
The Cyber Relax AI approach combines targeted region work with a system-wide orchestration that mirrors a manual therapist’s care plan, but with AI precision and repeatability. Through eight-step explorations per region, users receive a thorough exploration of massage techniques that drive benefits across blood flow, fatigue relief, flexibility, injury recovery, muscle therapy, pain relief, spine alignment, stress relief, and tissue therapy. This step-by-step, model-led presentation makes it easier to adopt a consistent routine, ensuring each session builds toward long-term wellness goals while allowing room for personalization and daily rhythm adjustments.
Understanding the Technology Behind Cyber Relax AI
- Sensor fusion and tissue mapping to identify optimal pressure and stroke patterns in real time.
- AI-driven pattern selection from a broad technique library to tailor the session to your needs.
- Dynamic pressure control that adapts to tissue response and user feedback during the massage.
- Safety safeguards and comfort algorithms to prevent over-stimulation and protect joints.
Care, Safety, and Maintenance Tips
- Regularly wipe down the chair’s surfaces with a soft, damp cloth to remove oils and skin cells.
- Keep the user manuals handy for setting adjustments, including intensity and duration preferences.
- Hydration is important; drink water after sessions to aid in tissue recovery and circulation.
- If you experience unusual pain or numbness, pause use and consult a healthcare professional before continuing.
Frequently Asked Questions (FAQ)
- Q: How often should I use the Cyber Relax AI for best results? A: Daily sessions can support ongoing pain relief and mobility; start with 20-30 minutes and adjust as comfort allows.
- Q: Can Cyber Relax AI replace professional massage therapy? A: It complements professional care by providing consistent, targeted relief at home, but it does not substitute for hands-on medical treatment when needed.
- Q: Is it safe for people with implanted devices or certain medical conditions? A: Always consult your physician before using a massage chair if you have implants, circulatory disorders, or serious health concerns.
Final Thoughts
The Fujiiryoki Cyber Relax AI translates a wide range of massage techniques into a single, adaptable home solution. By presenting a thorough, step-by-step framework from ankle to wrist, this guide helps users harness the chair’s full potential for pain relief, flexibility, and circulation. Embrace the routine, customize the experience, and let AI-driven massage become a steady ally in your daily wellness journey.
Tags:
Previous
Fujiiryoki Cyber Relax AI: Full-Body Massage Techniques for Blood Flow, Fatigue Relief, and Enhanced Flexibility
Next
Are Massage Chairs Safe? A Premium Buyer’s Guide